Barn Wood Look From The Home Improvement Store | DIY Barn Wood Photography Backdrops
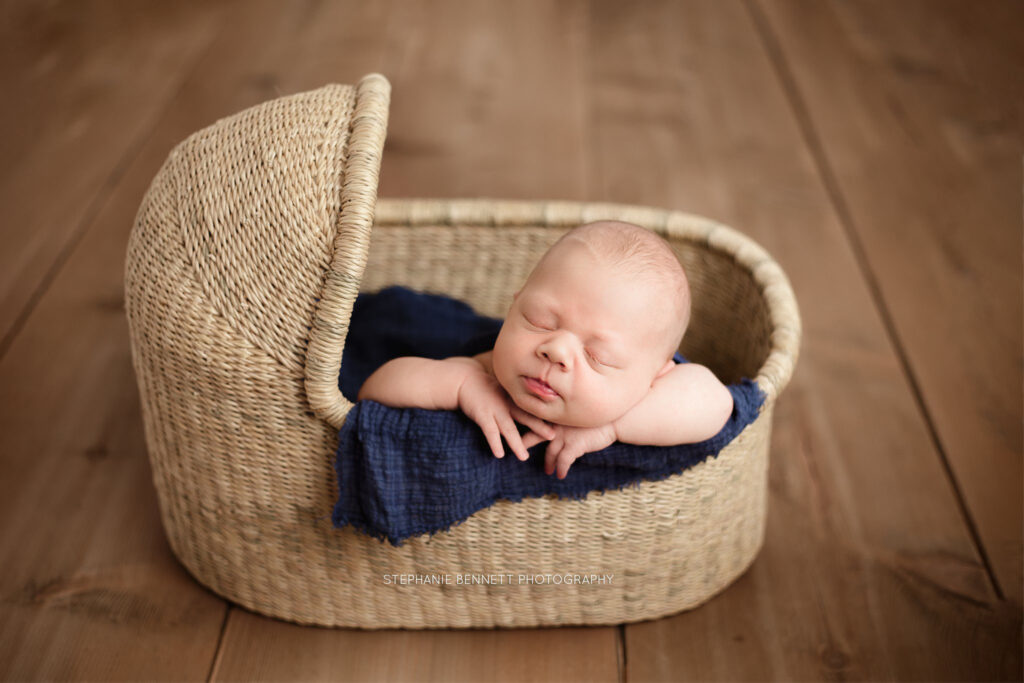
Newborn photographers love the look of barn wood floors for pictures, but looking for a cheaper or more readily available option leads a lot of us to try DIY barn wood photography backdrop options. I’ve done two different versions of DIY barn wood photography backdrops, and am going to cover each in separate blog posts.
If you are looking for an authentic patina that is a little more labor intensive and time consuming for your DIY barn wood photography backdrop , then this blog post is for you. If you want a nice store-bought options, check out my upcoming post on store bought options to DIY your barn wood photography backdrop.
My husband is a woodworker, like the type of guy that will hand carve fancy joints for drawers in expensive wood kind of wood worker, so this was his recommended approach to achieving a aged look for a DIY barn wood photography backdrop. The second post will cover store bought items that will “fake” barn wood look for you.
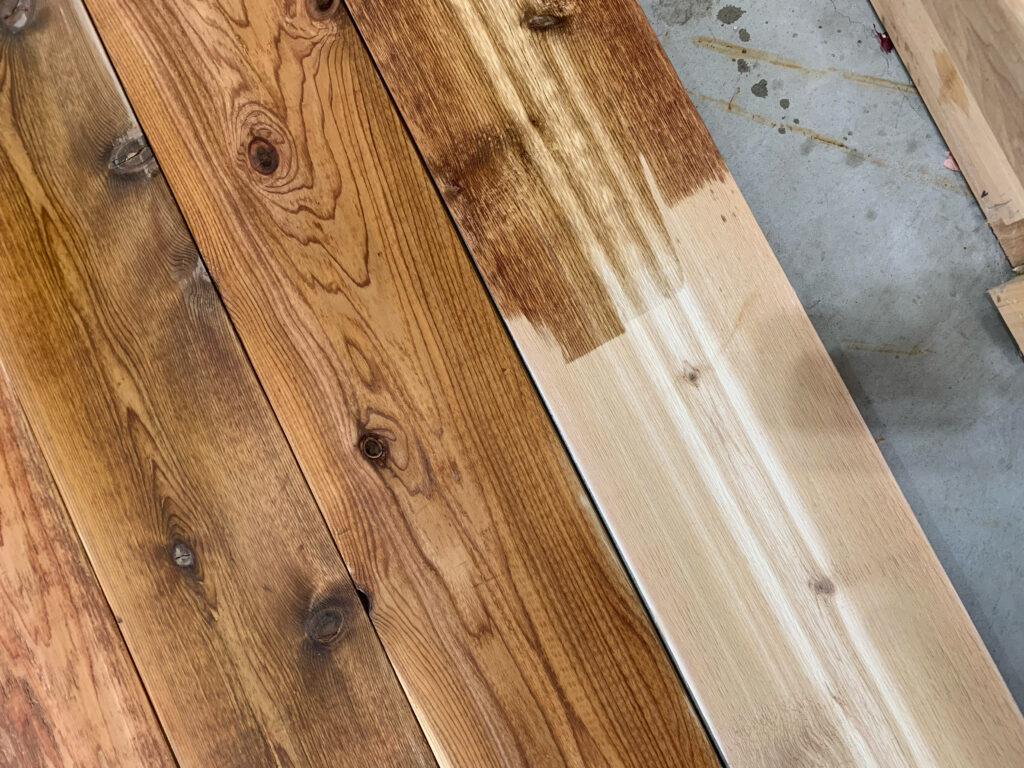
This approach to a DIY barn wood photography backdrop uses vinegar and steel wool, and is a popular choice for woodworkers looking to achieve a realistic weathered and ages look to their wood pieces. Science isn’t my string point, so I am not going to act like I am here, but this causes a chemical reaction in the wood, versus a stain that just changes the color. This approach will bring out the natural colors, and variations in colors, for your wood.
Wood Choices | DIY Barn Wood Photography Backdrops
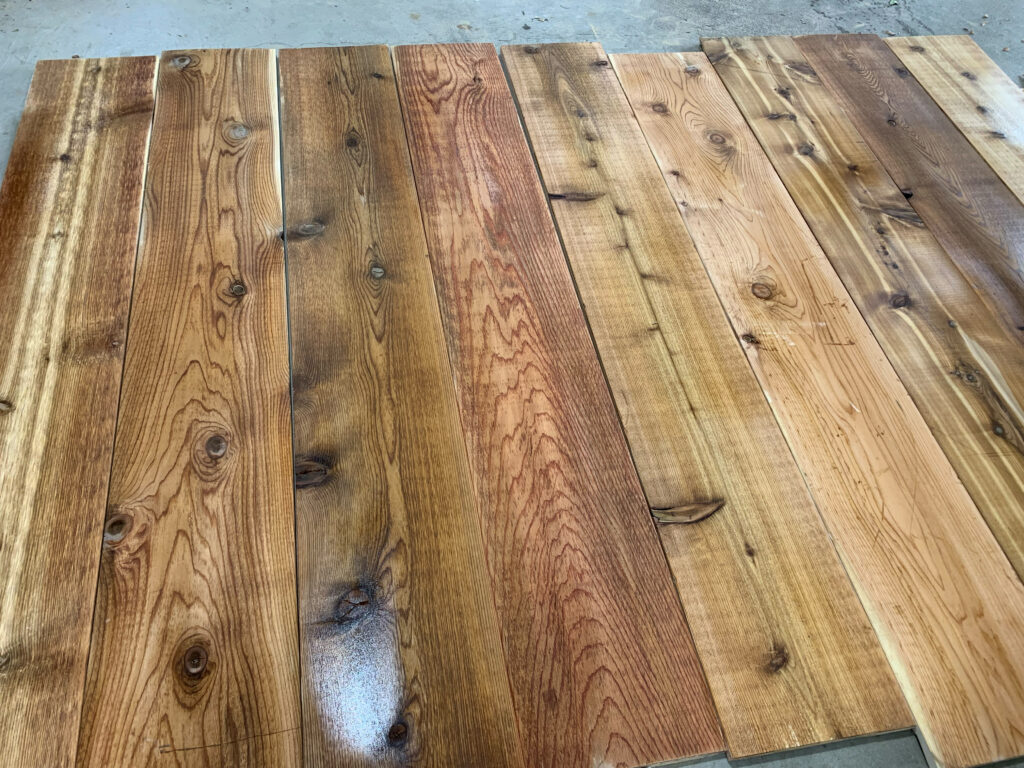
Before you jump into prepping wood, let’s talk about wood choices. My backdrop is made our of cedar. I chose cedar for a few reasons. Cedar is a durable wood that is weather resistant, and was commonly used in barns – so a lot of the barn wood you find for sale will be cedar. I also prefer the color of it over pine. Pine can get very grey looking when aged, where cedar will have some red or brown tones in with the grey. Cedar will cost more, but in the long run you will love the look of the backdrop more than pine, I guarantee.
Other wood options are pine (just be aware that it will be more gray than other woods, but is also a specific look some love). Maple and Elm are popular types of barn wood – just be aware these woods are more expensive and usually only found at specialty wood stores. Cedar and pine are commonly found in lumber yards and home improvement stores.
I like the look of wide boards, so I bought 12 inch wide by 6 feet long boards. They are about an inch thick. I bought 9 for my floor area of the studio and it was about $200 (Wood prices have been all over the place in recent years, so they might me more or less depending on your location and current prices).
-
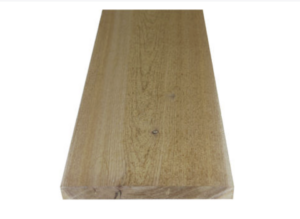
- RED CEDAR
-
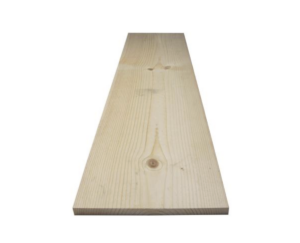
- PINE
Shopping List | | DIY Barn Wood Photography Backdrops
Materials You’ll Need:
- Your wood
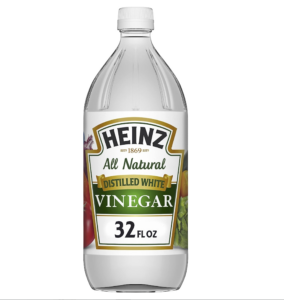
- White vinegar – a liter should be enough.
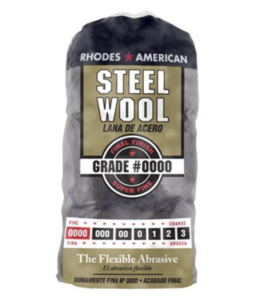
- Steel wool pads (grade 0000)
- Glass jars with a lid
- Paintbrush or sponge
- Plastic gloves
- Old cloth or rags, and a drop cloth to protect the ground
- Protective gear (safety glasses, mask)
Chemically Aging Your Wood | DIY Barn Wood Photography Backdrops
Let’s get started with your DIY barn wood photography backdrops
Prepare Your Work Area | DIY Barn Wood Photography Backdrops
Set up a well-ventilated workspace, preferably outdoors or in a well-ventilated room. Lay down a protective covering like a drop cloth to catch any drips or spills. I like to use saw horses so I am working with boards close to waist height.
Steel Wool and Vinegar | DIY Barn Wood Photography Backdrops
Make sure you’re using high-quality steel wool with a grade of 0000 for best results. Cut or tear the steel wool into smaller pieces and place them in a glass jar or two. I used two jars to assure I had enough of the solution made to finish all of my boards at the same time.
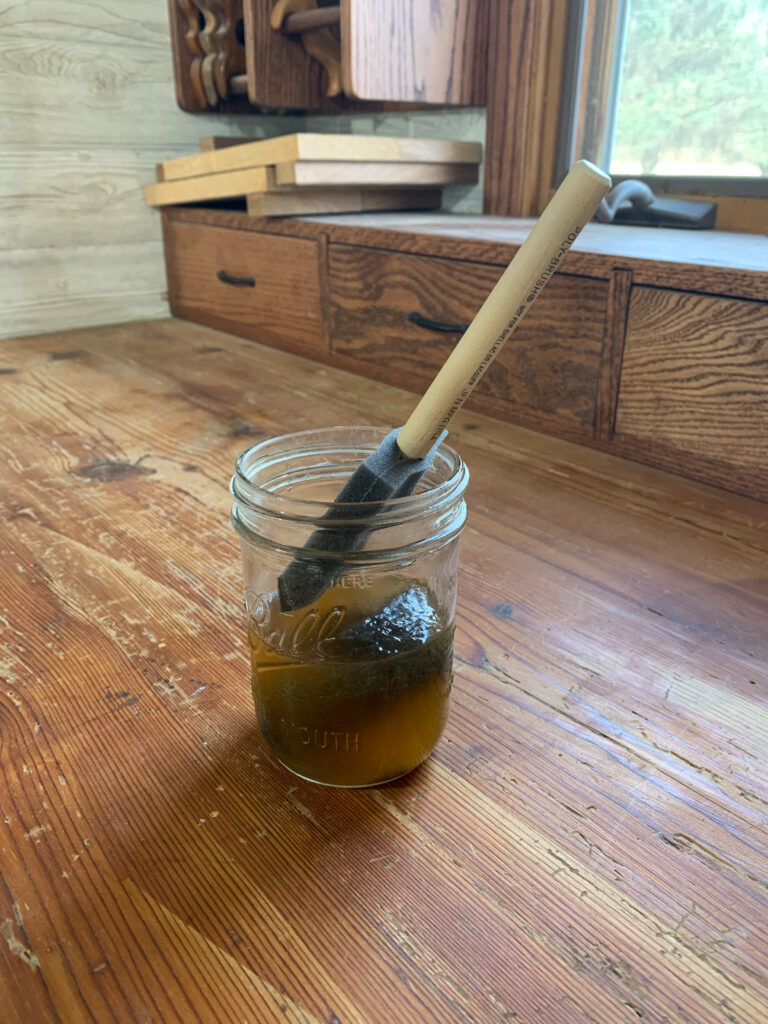
Add Vinegar | DIY Barn Wood Photography Backdrops
There are two options for vinegar. You can use room temperature vinegar or hated vinegar. The only difference is the time it takes for the chemical reaction between the steel wool and vinegar to take place, creating the solution you’ll use to age the wood. I heated my vinegar, because I am impatient and wanted to see the finished product as soon as I could.
Room Temperature: Pour white vinegar into the jar containing the steel wool. Fill it up until the steel wool is fully submerged. Seal the jar with a lid and let the mixture sit for at least 24 to 48 hours.
Heated: Heat the vinegar in a pot on the stove until it reaches a boil. Then pour into the jar containing the steel wool. Fill the same as the room temperature vinegar, until the wool is submerged. Seal with a jar lid, and let sit 12-24 hours.
Wear Protective Gear | DIY Barn Wood Photography Backdrops
When handling the steel wool and vinegar solution, wear plastic gloves to protect your skin. Safety glasses and a mask are also recommended to prevent any accidental splashes or inhalation of fumes. It’s vinegar, so it will have a strong and distinct order to it. I highly recommend being outdoors for these steps.
Test the Solution | DIY Barn Wood Photography Backdrops
Before applying the solution to your entire wood piece, it’s a good idea to do a test on a small, inconspicuous area to see how the color develops. This will help you gauge the effect and adjust the solution’s concentration if needed. If you want the test area to be darker, or “aged” more, let the solution sit longer. The longer it sits, the stronger the solution will be and the reaction from the solution will be stronger or more extreme.
Apply the Solution | DIY Barn Wood Photography Backdrops
Once you’re satisfied with the solution’s color, use a paintbrush or sponge to apply the solution evenly onto the surface of the wood. I used long strokes that were the same direction as the wood grain. Keep in mind that the solution will darken the wood, so start with a light application.
Let the Solution Dry | DIY Barn Wood Photography Backdrops
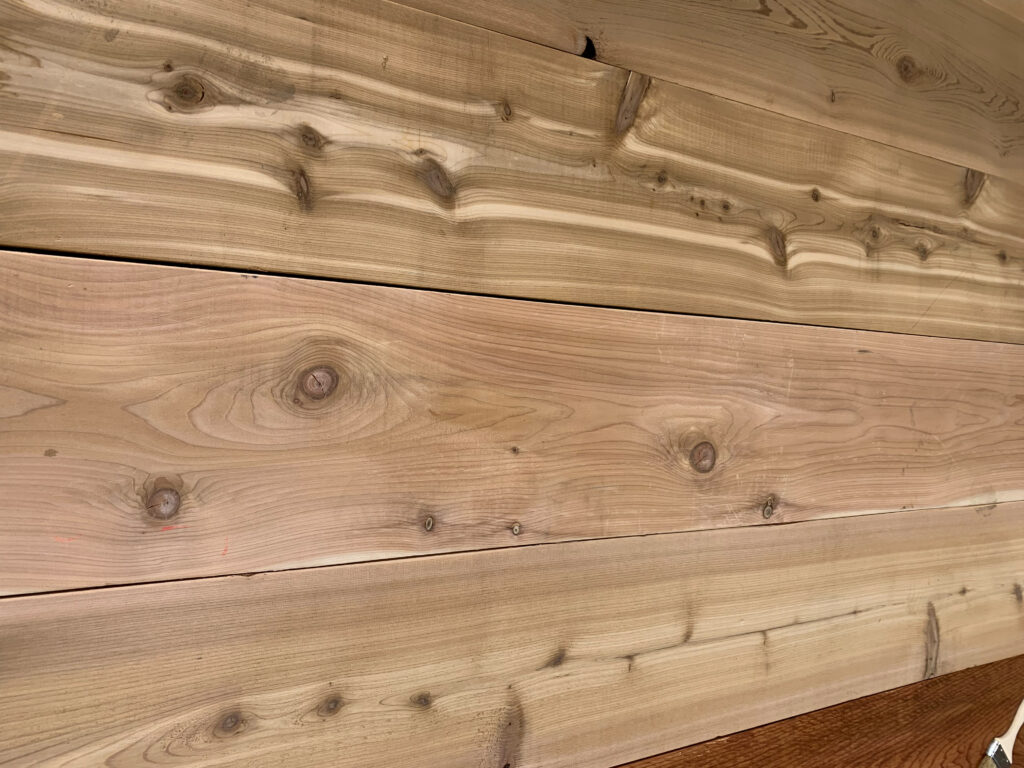
Allow the wood to dry completely after applying the solution. This can take several hours to overnight, depending on the temperature and humidity. The color of the wood when you apply the solution will not be the same color as the finished product. As the solution dried, it causes a reaction in the wood and ages it. Over time is will change from wet looking to a dull color with grays and browns.
Apply Additional Coats (Optional) | DIY Barn Wood Photography Backdrops
If the color isn’t as deep or aged as you’d like, you can apply additional coats of the solution, allowing each coat to dry before applying the next.
Picture Ready | DIY Barn Wood Photography Backdrops
Your DIY barn wood photography backdrops are ready to use!

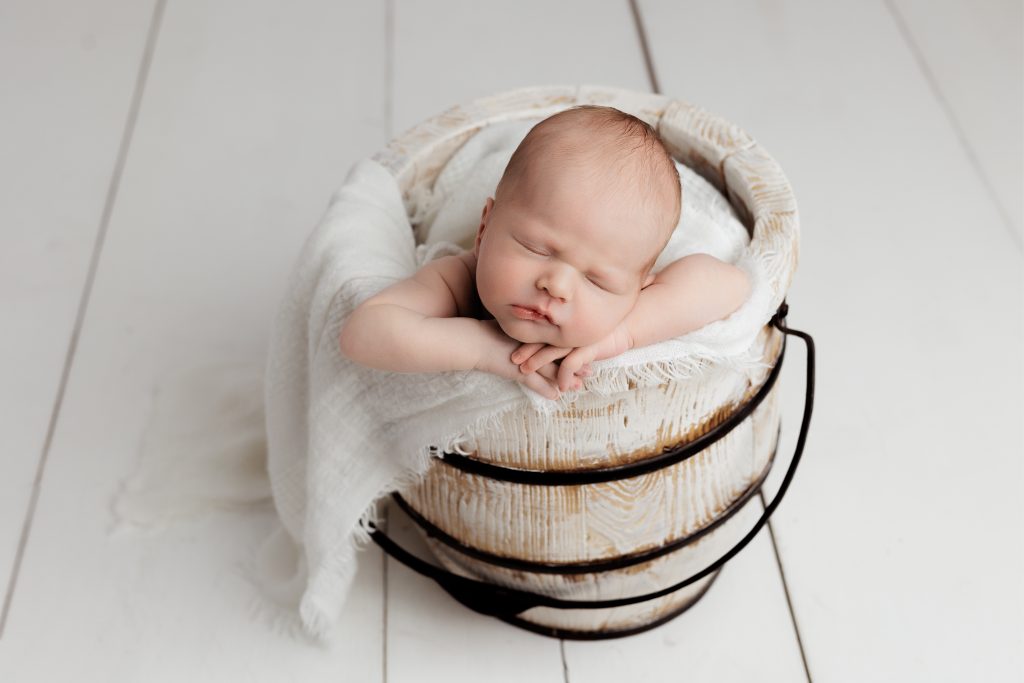
White Floor Option | DIY Barn Wood Photography Backdrops
In addition to my DIY barn wood photography backdrops, I wanted a nice clean white floor. I have some white wood floor mats, but never loved them. I painted the other side of my DIY barn wood photography backdrops boards with a white outdoor deck paint. It cleans up easily and is super durable. It is also a quick change between both drops, since I can just flip the boards over and go from white wood to my DIY barn wood photography backdrops.
Final Thoughts | DIY Barn Wood Photography Backdrops
Remember that the outcome of the DIY barn wood photography backdrops can vary based on the type of wood, the solution’s concentration, and the application method. You can always add more solution or sand off some of the wood to lighten the solution.