Photographing your newborn at home
With Corona Virus forcing most of us to stay home and flatten the curve, I have had to postpone or reschedule a number of newborn sessions. Hopefully things get back to normal (or our new normal) soon. In the mean time, I wanted to put together some tips for photographing your babies at home. And using my daughter’s dolls as babies – because she likes to help with my photography stuff.
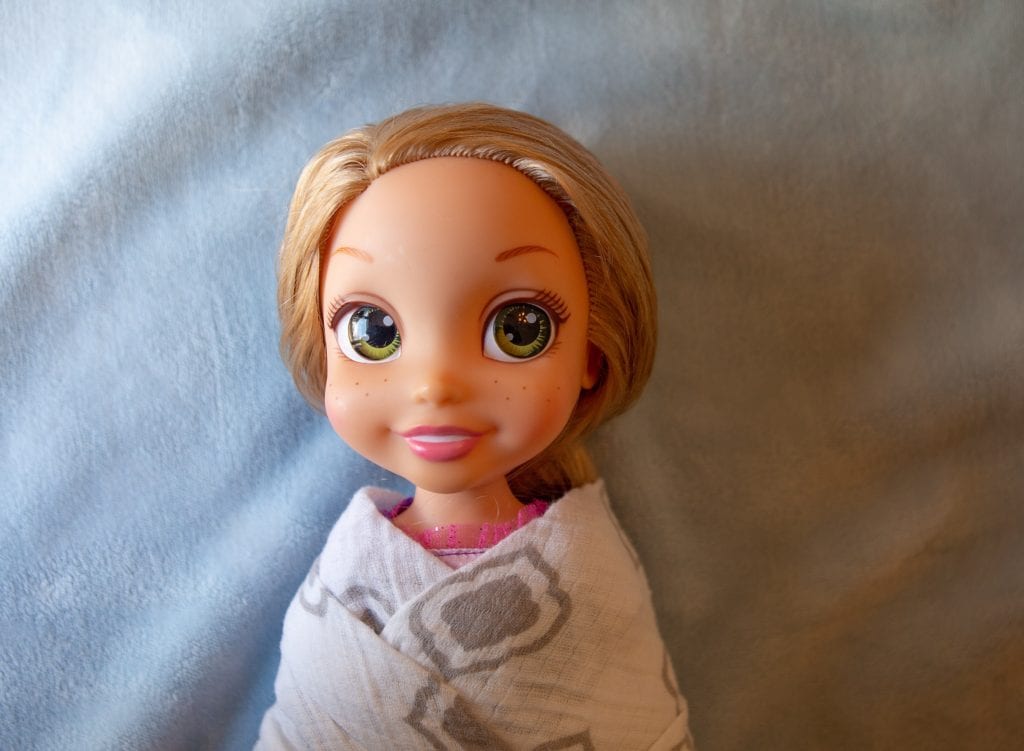
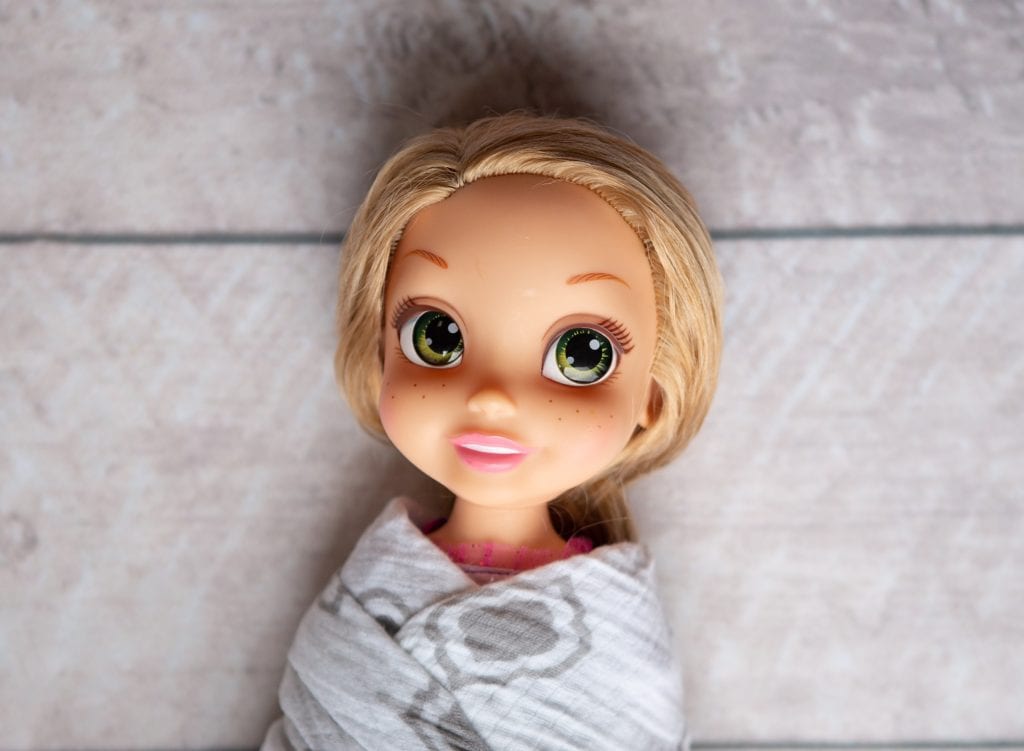
Window light is best.
Use natural light for your images, and turn off all other lights. It will give you the most flattering light. I am sure you have noticed that light bulbs come in a variety of tones now, like daylight, soft light, ect. These different tones will all have different colors that can make your image have different tints. Some of the lighting will be more blue, some will be more yellow. Using only natural light keeps your color of your light the same.
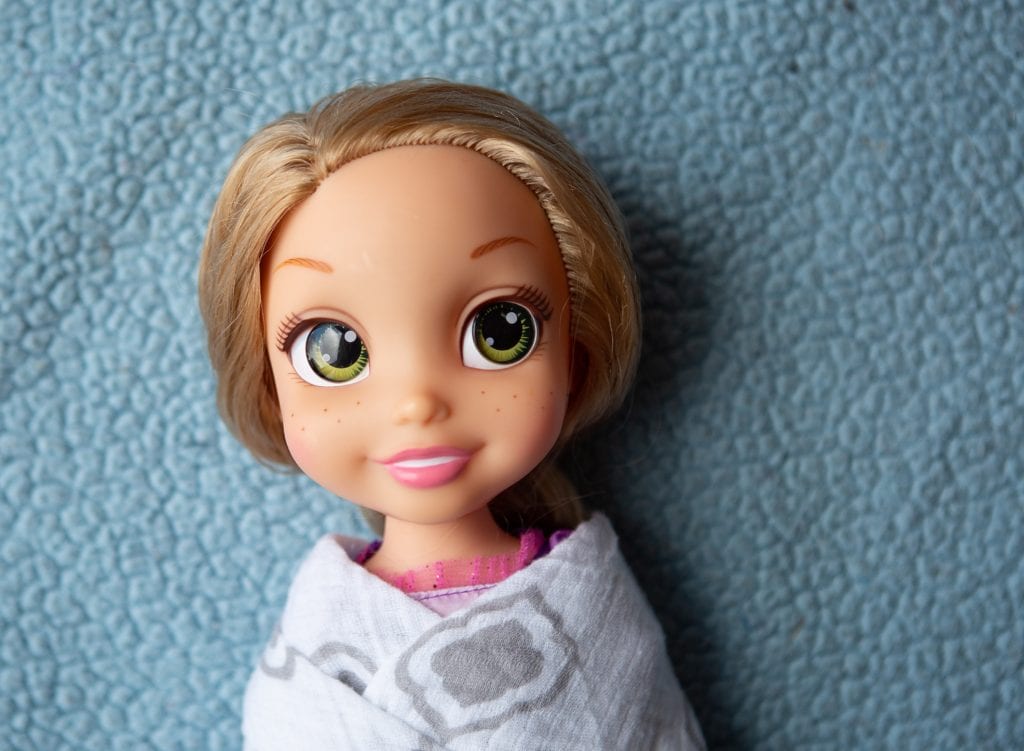
Second Image : Same window to the left, and lamp turned off. The coloring is consistent in the image and her skin no longer has the yellow / orange tint.
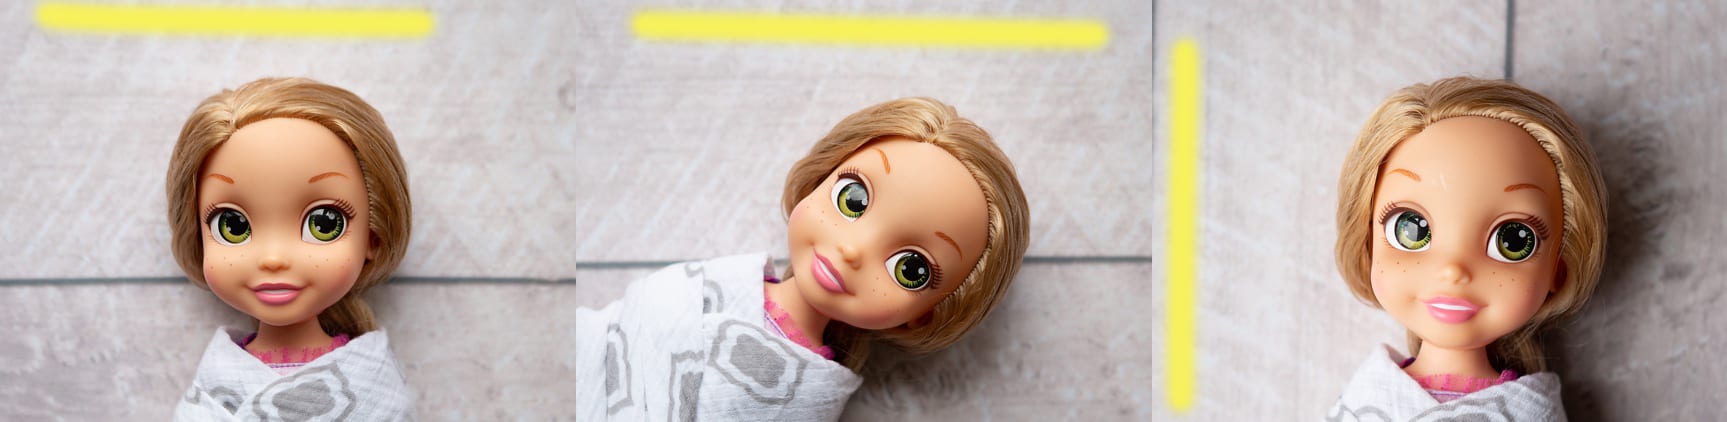
Direct light Versus Defused light
The type of light can make a difference too. Direct light is when you take pictures in bright sunlight. Harsh shadows are the easiest way to tell if you are using direct light. Defused light is when something it breaking up the light before it gets to you. This leads to softer lighting and shadows In homes, a common way to do this is to use sheer curtains.
In MN, another good tip is most of the time we get direct light through our south facing windows. When the light shines it, we can see the outline of the windows on the floor. Using a window that faces north, east, or west will typically avoid that direct sunlight, but still give you lots of light to use for pictures.
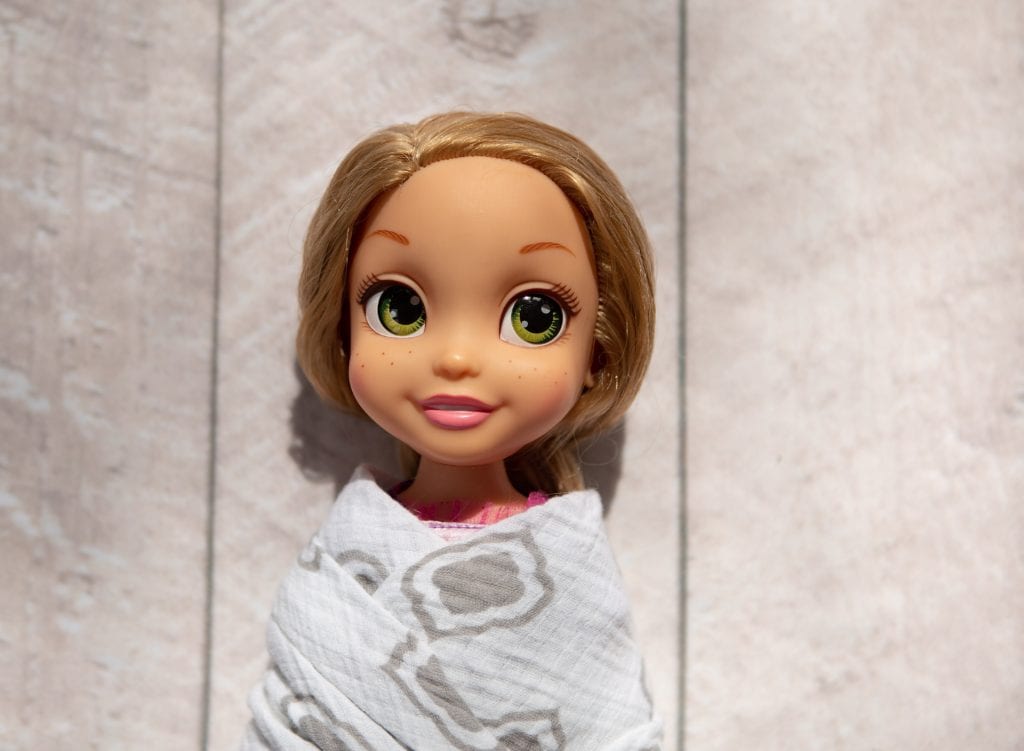
Second Image : Window above her head, and east facing. She is laying on the floor in the defused light from the window. The shadows on her face and hairline as softer and less noticeable.
Window Placement
Lighting makes a huge difference in how we look in pictures. Think of how we look in normal lighting in our house, not compare that to when you hold a flashlight under your chin to tell scary stores. It’s a huge difference in your features. Keep the light / window in the most flattering spot and where we are used to seeing light fall on our faces. From above like either the sun or home lighting. Do the same with your baby. Have the light or window come from above and down their face or from the side. Never from below.

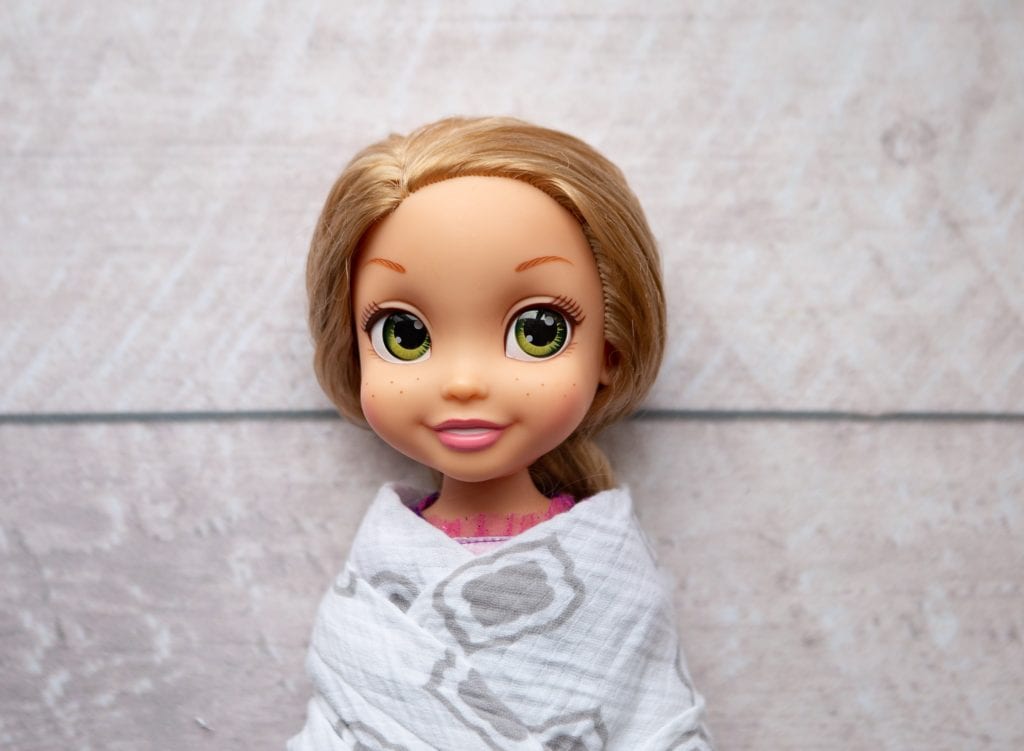
Second Image : Window light coming from her feet, making her features look different.
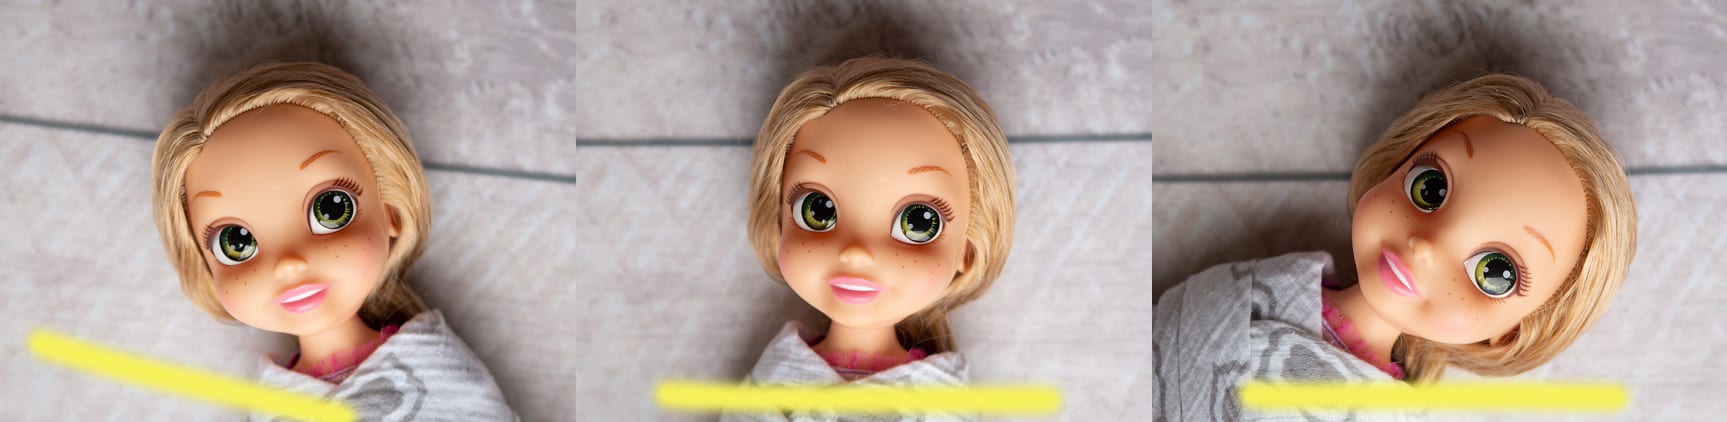
Remember – Light should always come down the face, or from the side. Never from below.
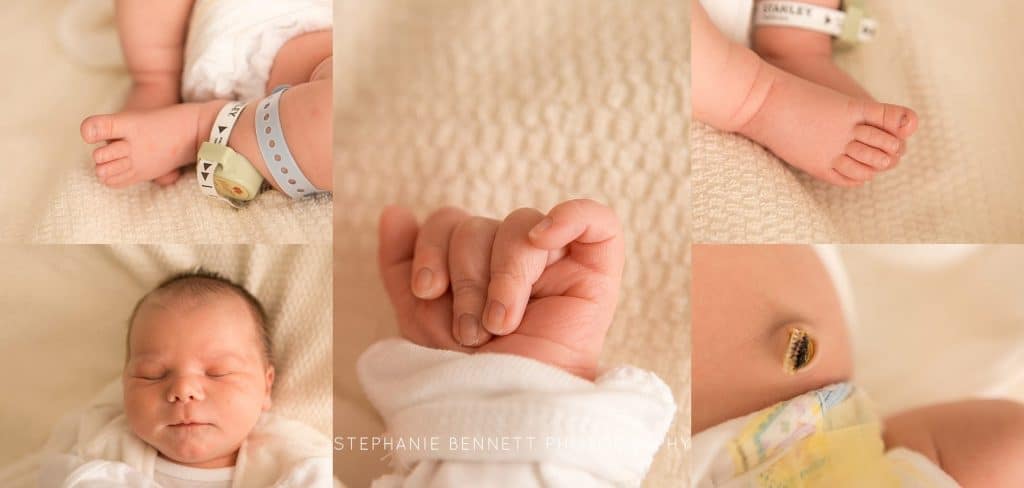
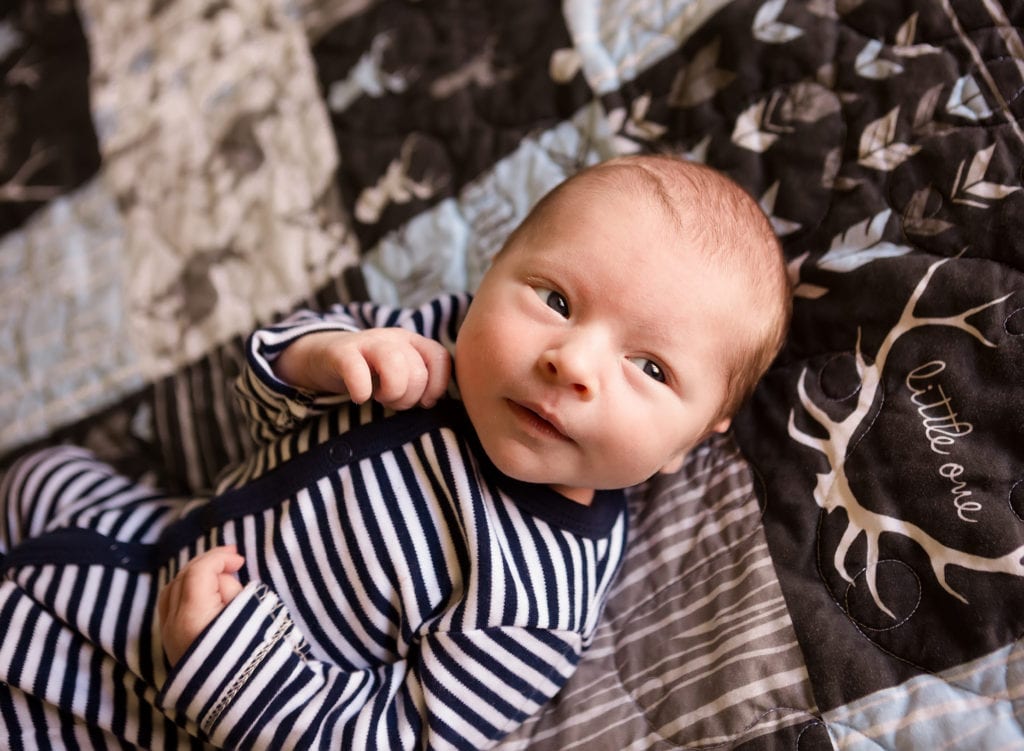
The Details
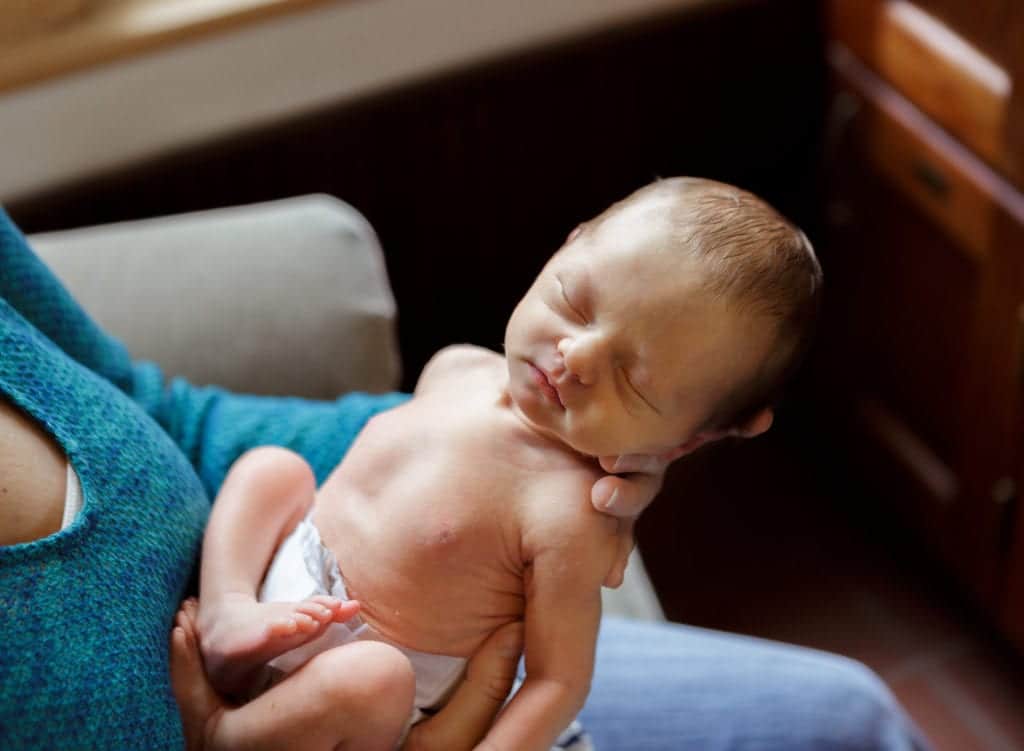
Newborns change so fast. Photographing babies in the hospital right after birth, and than a week or so later in studio I am always shocked at how different they are in that short time. Capture all the details. Their feet, tiny hands, lashes, hair (or lack of hair), hospital tags, and details in the hospital or nursery.
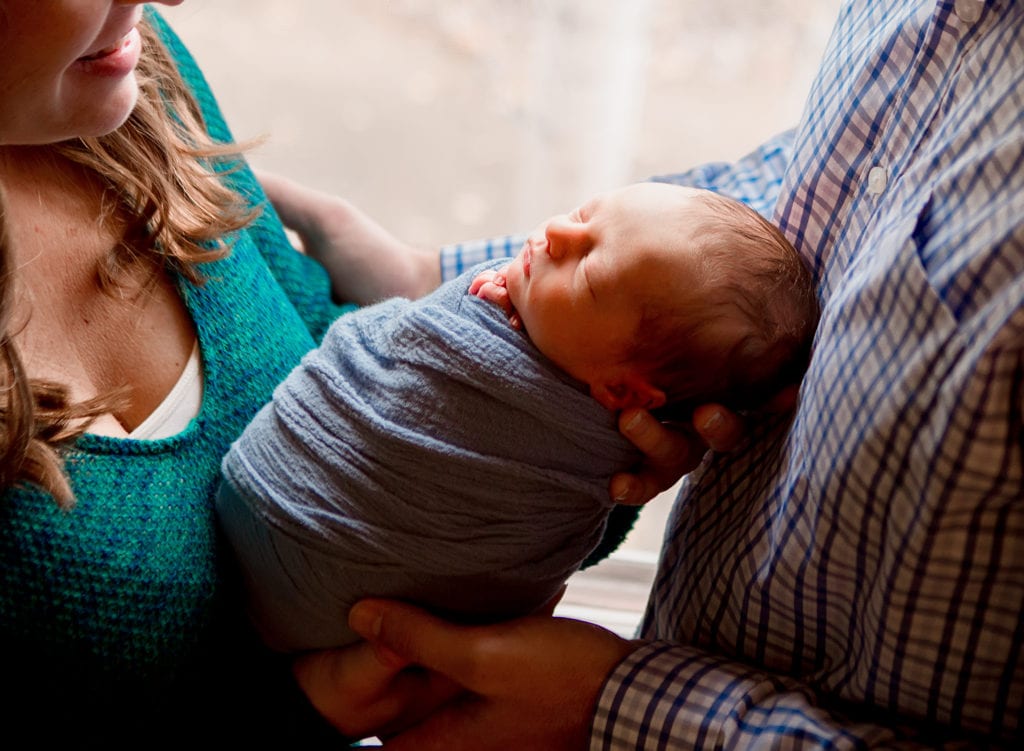
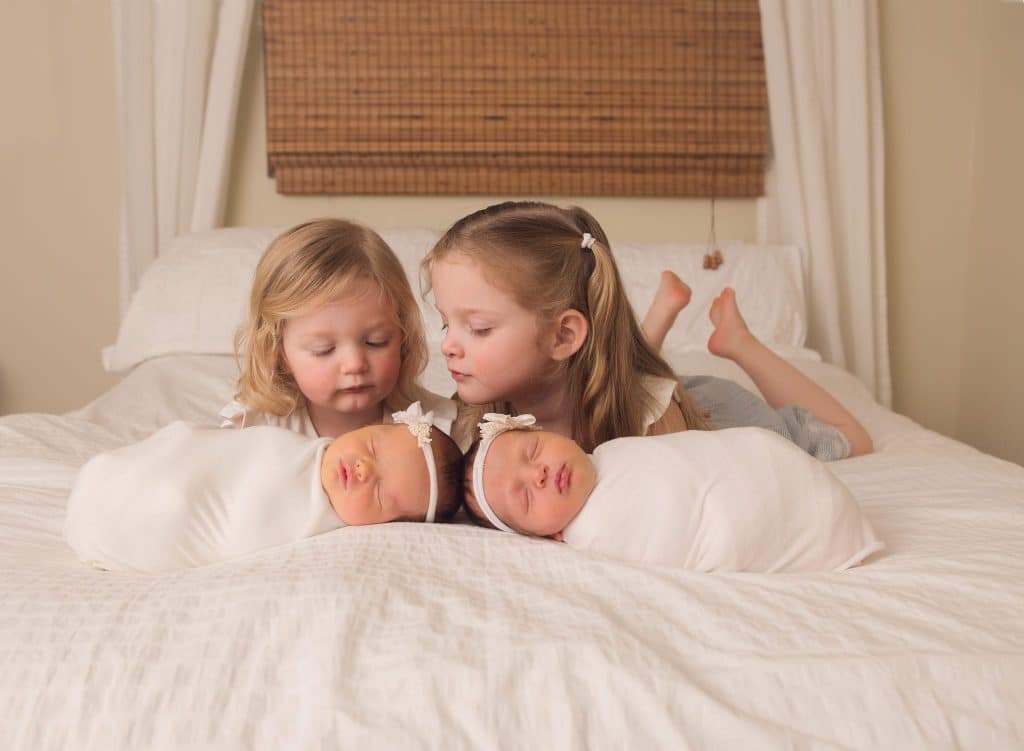
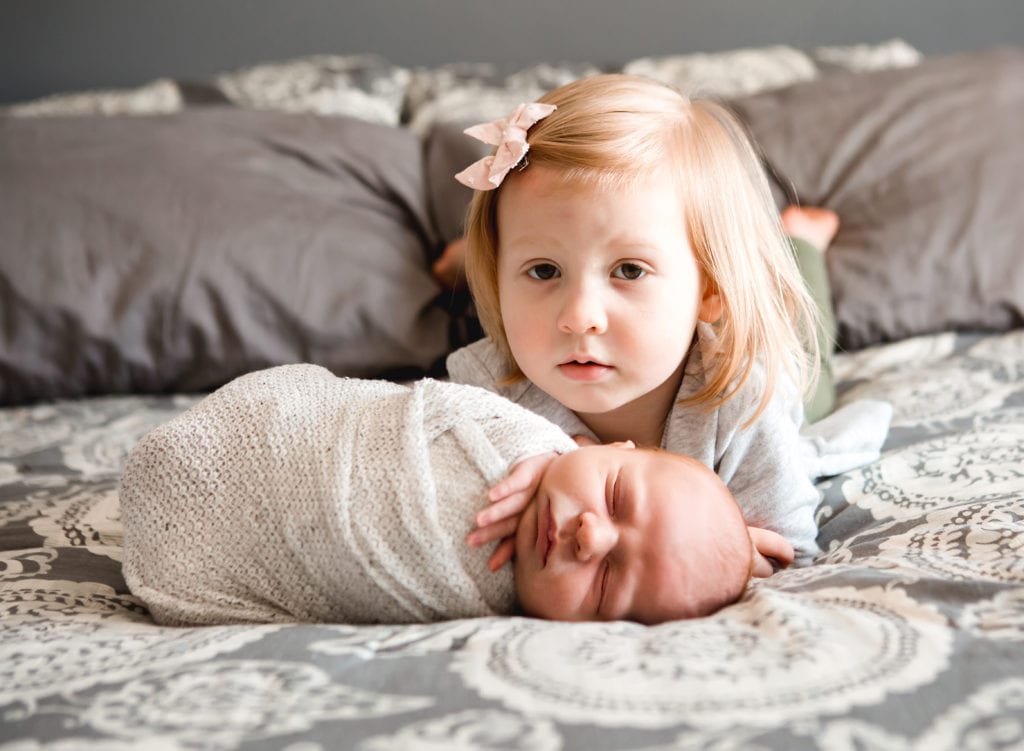
Connections
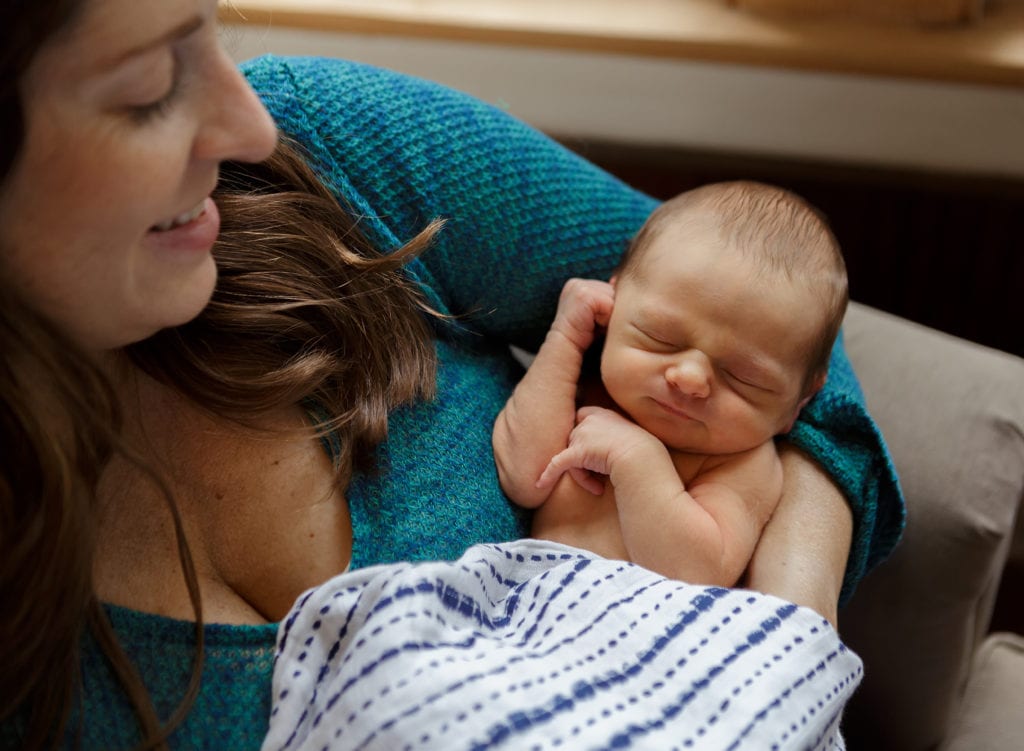
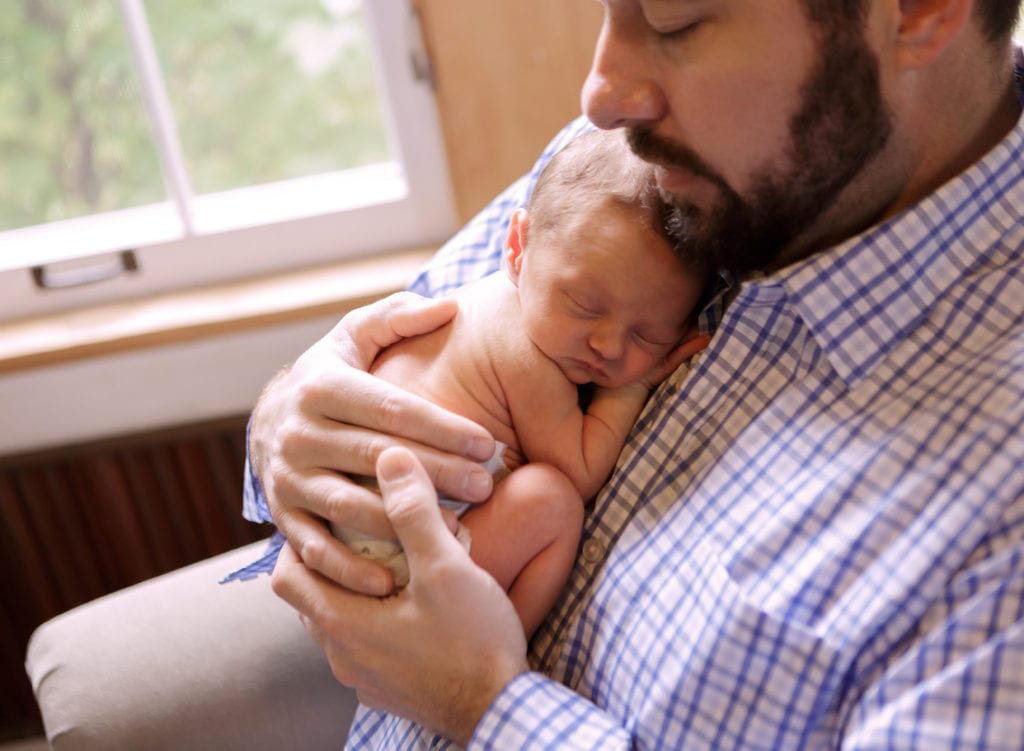
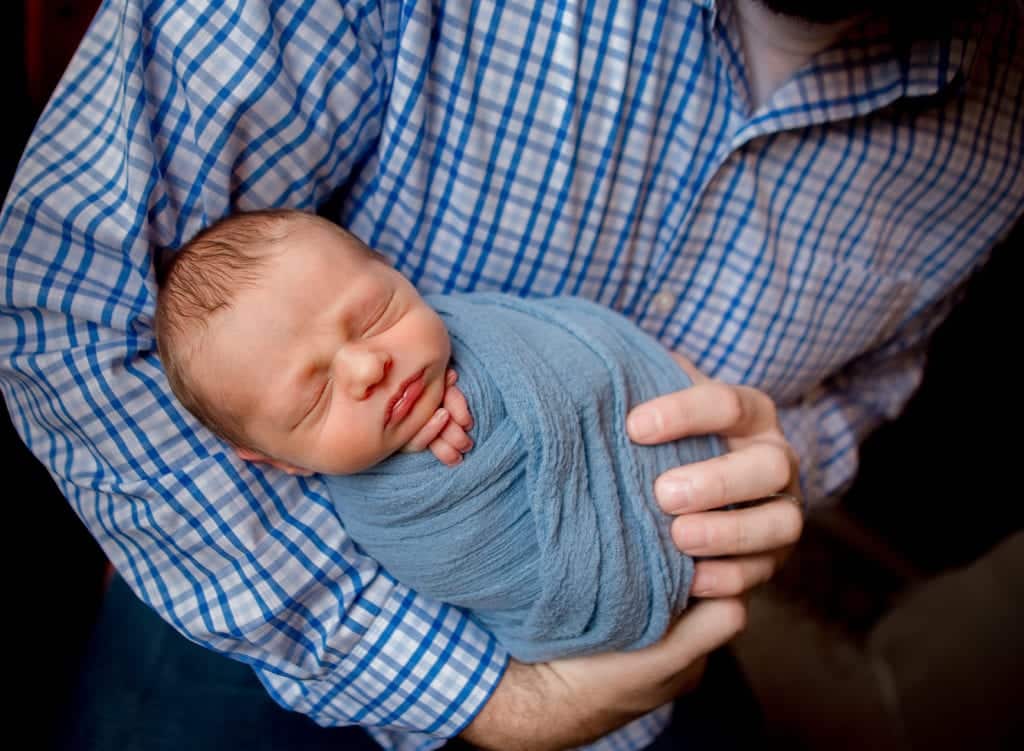
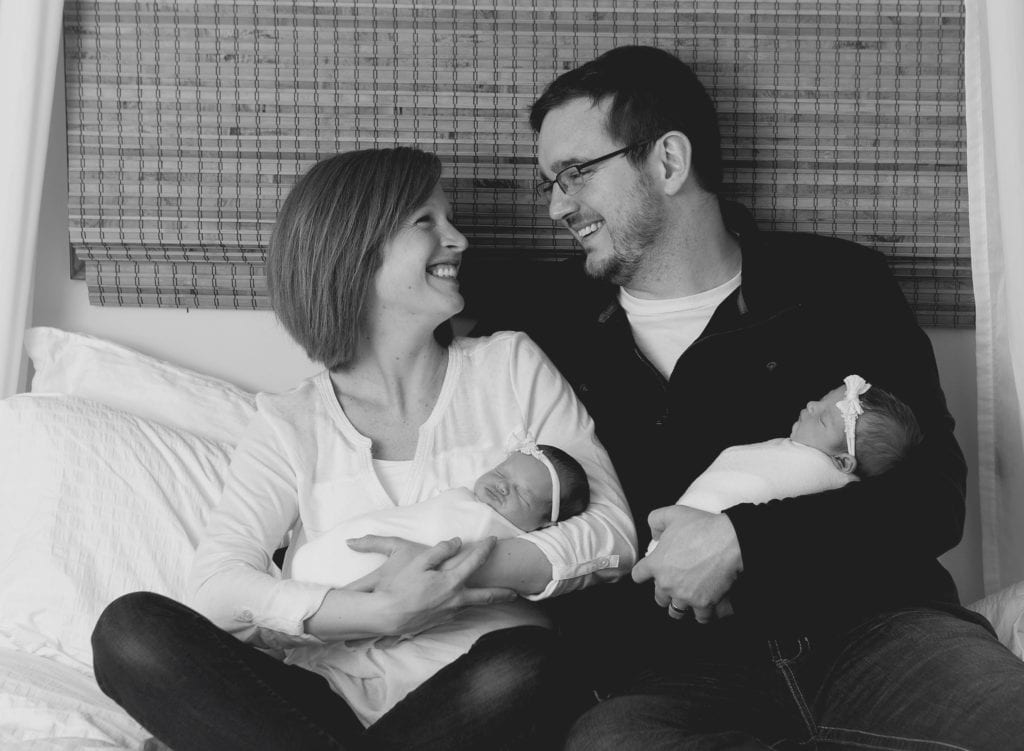
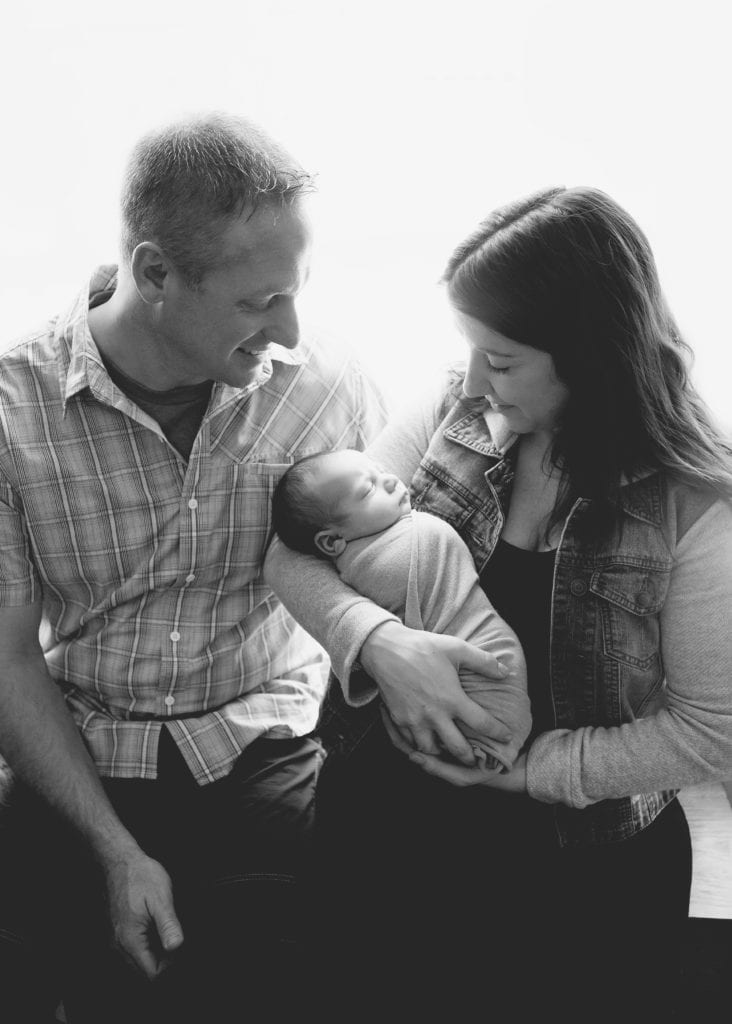
Newborn posing is hard, very hard to do. Don’t try to pose your sweet baby on your own. Focus on more relaxed poses, and the connection with your family. Ask one of the labor and delivery nurses to show you how they swaddle – those ladies are the best at swaddling, and they wrap babies up tighter than you would expect them to. Parents with baby, siblings with baby, and all the love that was just added to your home. That is what matters most, and what you will cherish when you look back years ago.

Backgrounds
A lot of new moms worry that their home isn’t pretty enough for pictures. Don’t stress about it. You just had a baby – on top of having to deal with guarantees in place! Keep things simple. The master bedroom is always good option. Baby on your bed, with siblings and parents is always cute. Worried about your bedding. Strip it down to a white or neutral color sheet if you need to.
Use baby blankets. This is the same blanket used two ways. The first is laid flat on the floor. The second way is the other side of the blanket, and scrunched up to add some dimension.
Editing
There are a number of free, and some paid editing programs out there. Heidi from Kinderbella Photography made some amazing FREE lifestyle presets for moms to use at home during these times. Check them out if you use Lightroom or Adobe Camera Raw – or thinking about trying them.
Know your Camera & your limitations if you have them
If you are shooting in auto, your camera will make all of the decisions for you to what it thinks will work best for the lighting in the room. If the room is dark, be ready for the shutter to be slow. Meaning you have to be very still, or images will be blurry. If you pose in front of windows, your camera will expose for the window, making people and surroundings dark.
If you are comfortable shooting in manual, choose a slightly higher ISO, so you can have a fast shutter speed to prevent blurry images.
Don’t worry – you have lots of time to practice
Take this time at home with your new little one to capture the moment with them. I mean, with social distancing in place and worries of catching COVID-19, you have lots of time at home with your growing family – and few distractions.
I wish I could get them in the studio. This will be back to normal, or at least a new normal soon. Until then, have fun snuggling your baby and photographing this special time.
To book your session, contact me today. CLICK HERE TO EMAIL ME, email me at Info@StephanieBennettPhotography.com, Like my FACEBOOK PAGE, follow me on INSTAGRAM, or check out session information on my website.